
678PC offers Businesses and Families a one stop shop for all technology needs.


From Computer Repair, Laptop Repair, and Network Installation to Website Design, SEO, IT Support, and New PC Purchase and Setup, 678PC can help!
Fill Out Our Form, and We’ll Get Back To You!
Our Web and Repair Services are Second to None! To Learn More or Schedule a Consultation, Give Us a Call at
(678) 404-1001

Computer Repair
- Our remote Tech Support services are a fully scaleable solution for both individuals and businesses interested in saving time, and offer a very affordable option for users working with complex software problems.
- Virus & Spyware Removal are the bread and butter of software repair; at 678PC, our highly trained software repair team have the tools and experience to clean your machine up without leaving any traces of malware.
- If your computer is running slowly or can’t handle basic tasks like email or internet browsing, then you may be running outdated or damaged hardware; our hardware repair team can upgrade or fix hardware issues affordably and effectively.
- One of our most commonly requested services is Software Installation; our computer repair team has extensive experience with dozens of business-oriented software platforms as well as traditional staples like the Office Suite.
IT Consulting
- Our Managed IT service is built to give businesses a scaleable option for on-site and remote troubleshooting and system maintenance under one umbrella.
- Networking & Automation is a business-focused service family designed to boost process efficiency without making an impact on the final product or service being optimized.
- The Business Cloud Services umbrella that we offer encompasses everything from business-grade Gmail setup to backup and data storage options
- Our Data Backup & Recovery services are adjustable offerings for business and individuals; depending on your needs, our IT experts will set you up on physical backups or a cloud-based backup service like Google Drive.


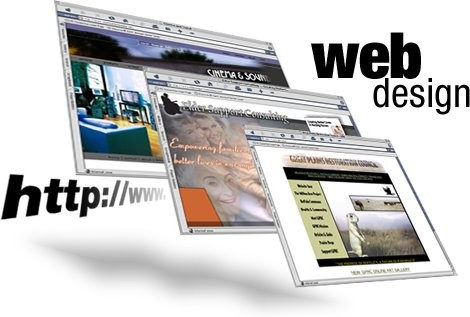
Web Design
- When it comes to WordPress Development, no one beats 678PC. Our portfolio contains dozens of professional sites, many of which have stood the test of time and continue to see hundreds of users each month.
- Copywriting, or the act of creating custom content for use in marketing or business materials, is another cornerstone of our Website Design service family; our scaleable content solutions are perfect for SEO while remaining engaging for human readers.
- Search Engine Optimization, or SEO, is the science of getting to the top of the search engine results page; our comprehensive approach to SEO has left us with a history of success that few other companies can boast.
- Site hosting may seem like a simple task, but in an age of constant vulnerability detection, great Hosting & Security services are more important now than ever; our hosting is blazing fast, secure, and keeps your site online no matter what.
Online Marketing
- Few online marketing platforms are as important as Social Media Marketing; our marketing team has over a decade of experience turning disused or under-visited business social media into a gathering place for clients old and new.
- A great brand is hard to build; luckily, 678PC offers Branding & Advertising services to help turn your business into a recognizable industry leader.
- Google AdWords is perhaps the most important online marketing platform available; a well-managed AdWords campaign from 678PC can bring in guaranteed leads at a very affordable rate.
- A subset of copywriting, Landing Page Development combines traditional content development, SEO, and responsive design to create a web page that functions as both a practical description of a service and a search engine-friendly marketing tool.
